Uncategorized
DIY Burlap Owl
Hello! I had a few questions on how I created the burlap owl I posted last weekend on Instagram. I had the owl sitting in the wreath on my front door. I found the step by step photos from a blog post I created a while back to show you the process. I used a coloring book as a template for the design, but you could also use owl clip art free printables from the web, I found several designs on this website.
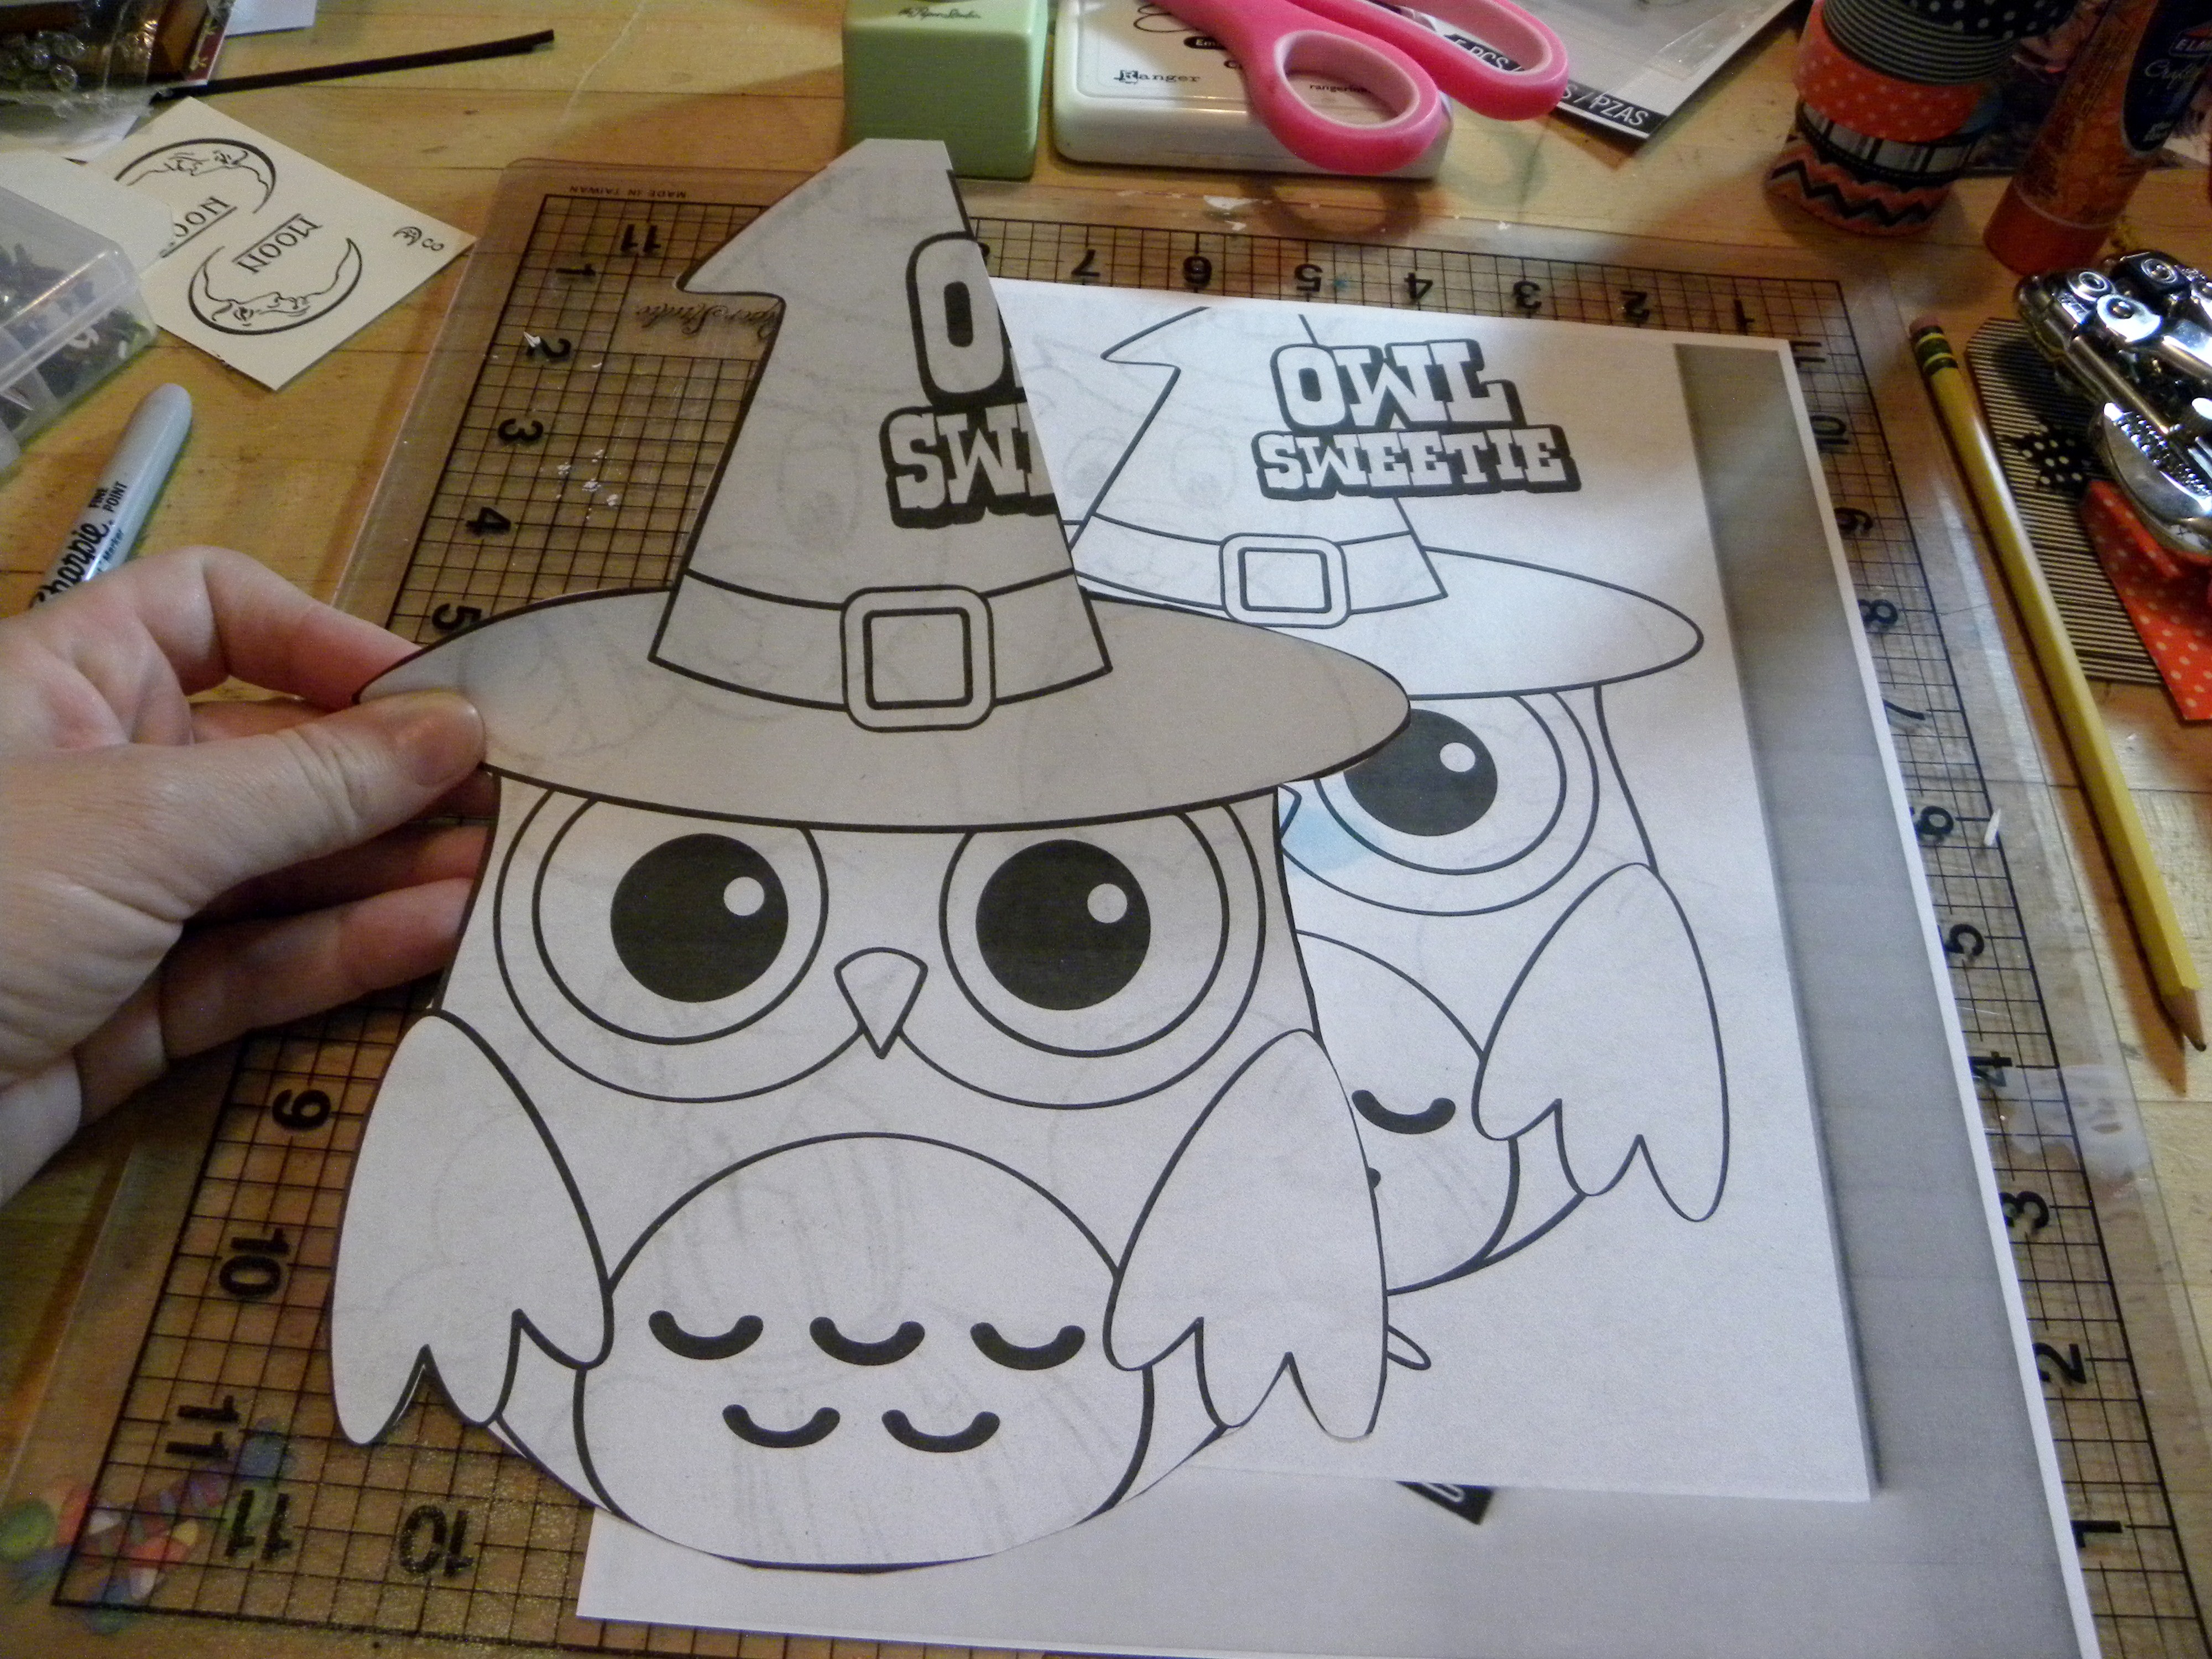
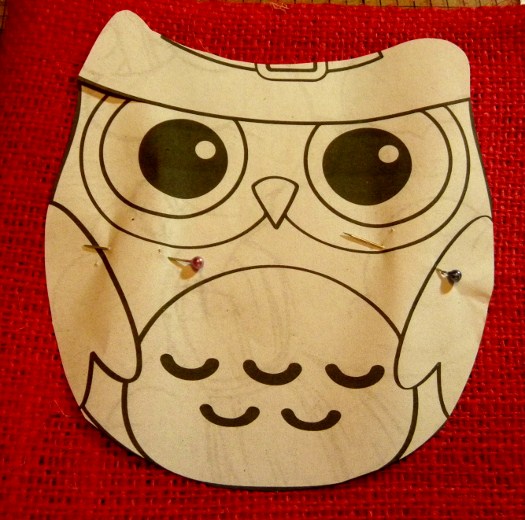
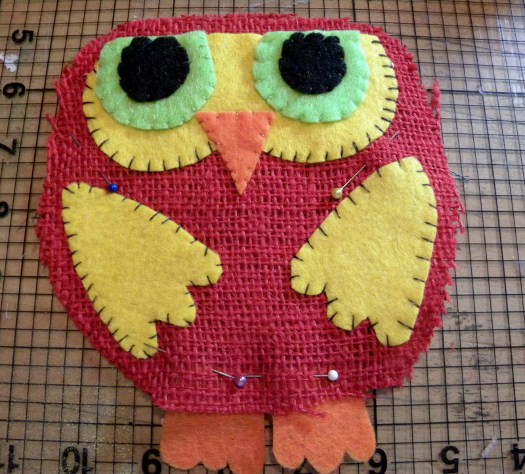
I cut each pieces out individually and used Burlap material for the body, you will want to cut two full owl shapes, one for the front and one for the back, because the owl will be stuffed with cotton filling
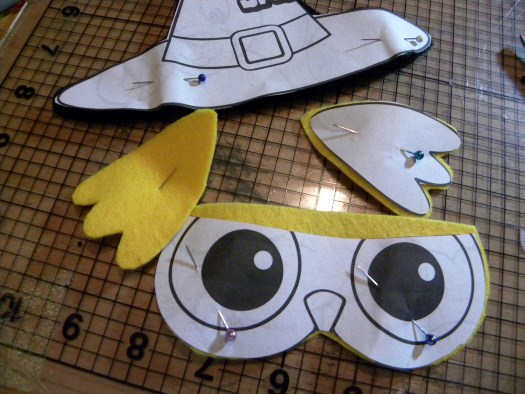
I used felt for the hat, eyes and feet.
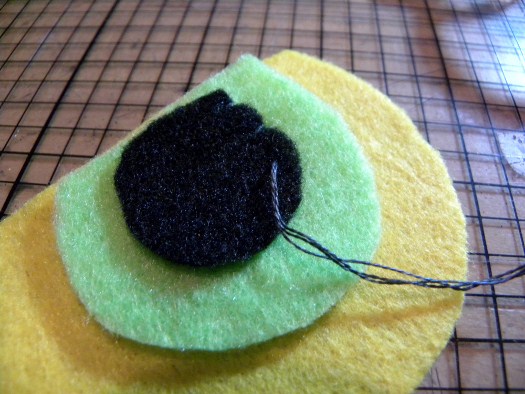
I layered and hand stitched the eyes
You will want to attach the eyes and wings to the body before sewing the body together.
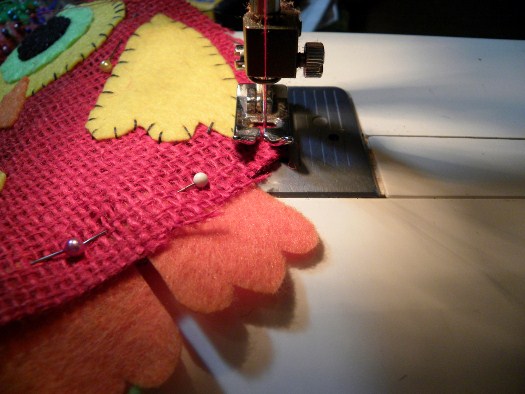
I used the sewing machine to sew the body, although you could hand stich as well. Remember to keep the top open to stuff the body with filler
For the hat I cut two pieces of black felt, because I will be stuffing the hat as well
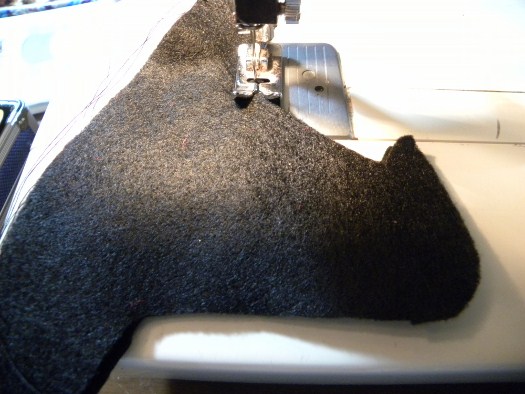
Once the hat is stitched leave the bottom open to stuff with filler
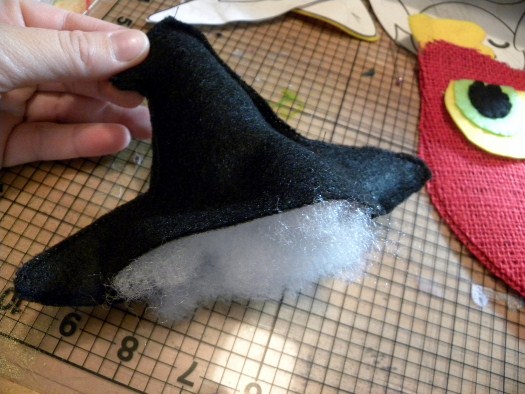
I placed the hat onto the body and handstitched the hat to the body, this can be a bit tricky
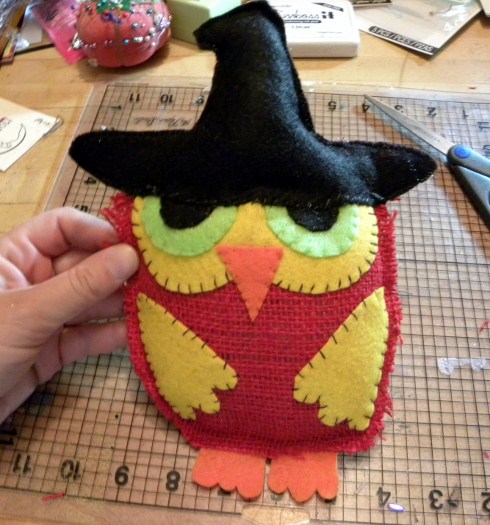
All done!
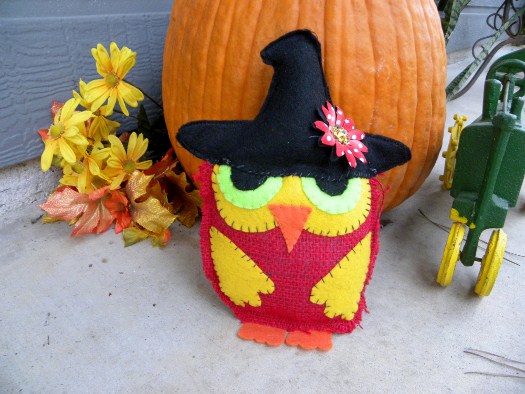
He can be placed in a wreath, on a tabletop… the fun thing is you can use different material to make a whole village of owls!
Have fun creating, Rebecca